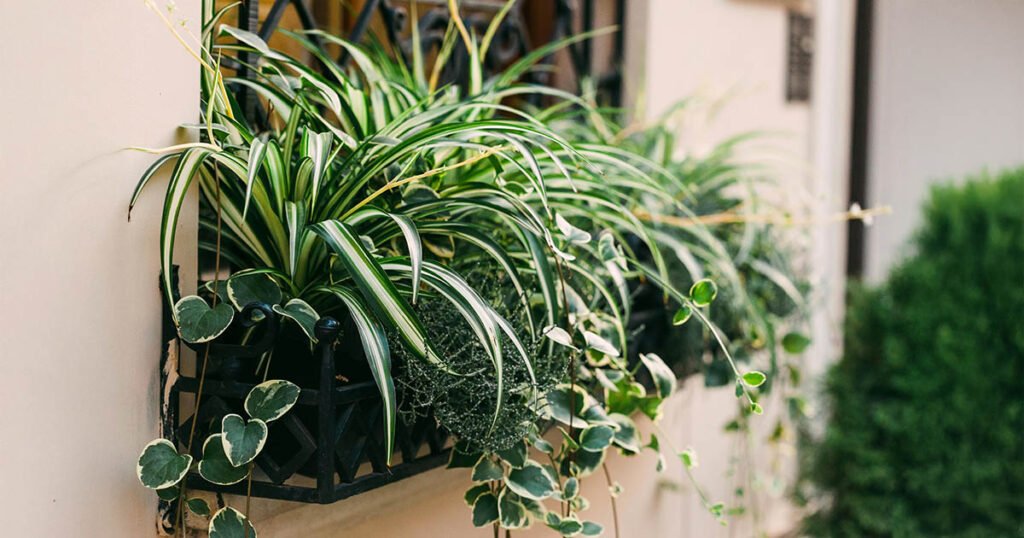
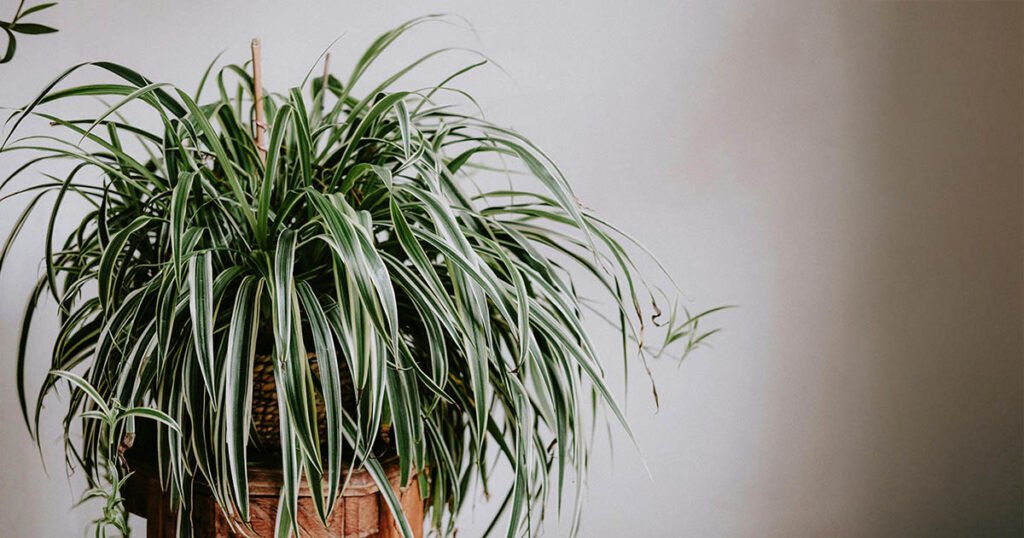
Spider plants (Chlorophytum comosum) are beloved for their graceful arching foliage, air-purifying abilities, pet-safe profile, and remarkable resilience. Their ease of care makes them perfect for beginners and seasoned green thumbs alike. This guide dives deep into essential care aspects to help your spider plant thrive.
Why Spider Plants Make Excellent Indoor Plants
- Beginner-friendly & forgiving: They tolerate occasional neglect and bounce back quickly
- Air purification: Multiple studies have highlighted the spider plants’ ability to absorb indoor pollutants such as formaldehyde
- Pet-safe: Non-toxic to cats, dogs, and humans—ideal for households with animals
- Decorative & versatile: Thrives in hanging baskets or as a table top accent; produces attractive plantlets (“spiderettes”)
The Different Spider Plant Varieties
Popular cultivars include:
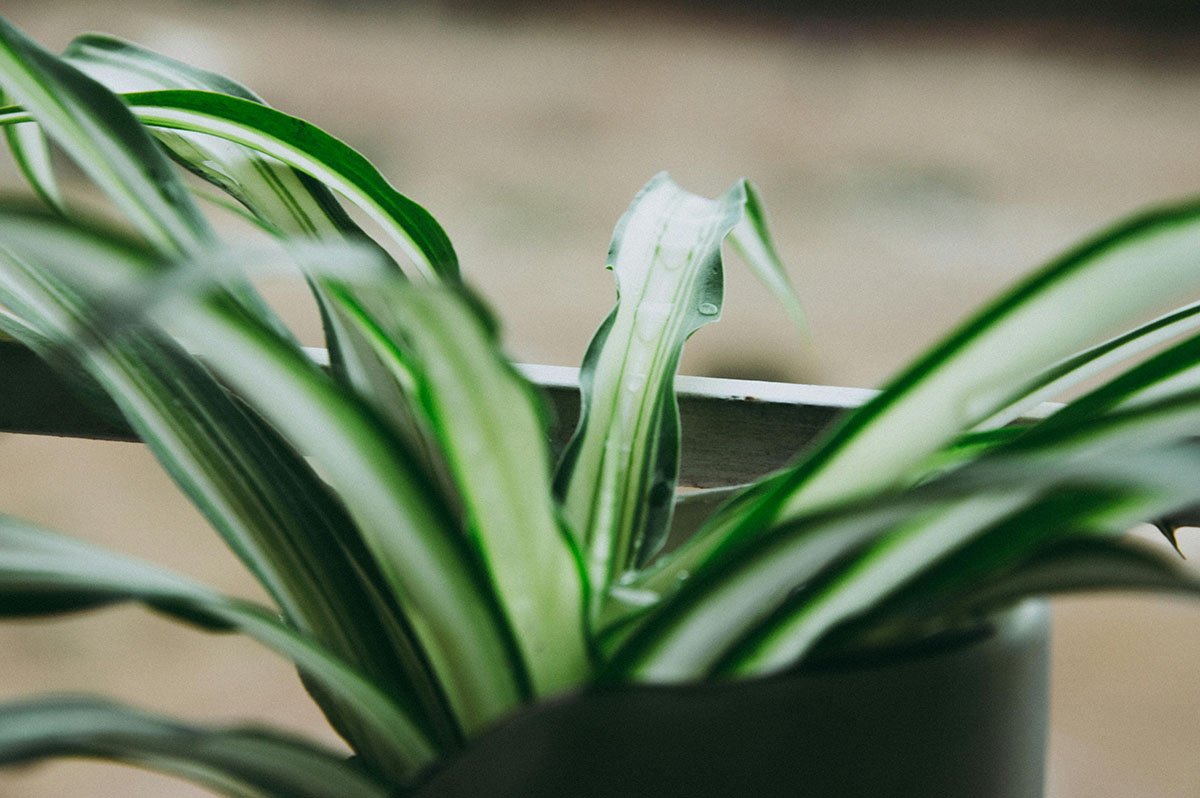
- ‘Vittatum’: Green leaves with a central white stripe
- ‘Variegatum’: Darker green leaves with cream margins
- ‘Bonnie’, ‘Milky Way’, and curly types add unique textures
Choose based on appearance, but all varieties share the same care needs.

Soil & Potting
- Well-draining, potting mix: For a DIY potting mix use 2 parts coco coir, 1 part perlite and 1 part compost. Alternatively, buy a standard houseplant potting mix.
- Pot Size & Type: Use one slightly larger than root ball, with drainage holes; over‑potting leads to waterlogging
- Repot every 2–3 years: Ideally in spring; root bound signs include slowed growth or roots outgrowing the pot
Watering Techniques & Frequency
- Water when the top 2.5 cm (1″) of soil feels dry: usually every 7–14 days, adjusted for seasonality
- Tap water caution: Fluoride and chlorine can cause brown tips; let it sit overnight or use filtered/rainwater
- Avoid overwatering: Excess dampness leads to root rot. Signs of overwatering include; yellowing leaves, a musty odour or dark roots.
- Drainage: Remove excess from saucers and ensure pot has adequate draining holes
Feeding & Fertilising
- Fertiliser type: Balanced liquid or water-soluble fertiliser with equal parts nitrogen, phosphorus and potassium (10-10-10 or 20-20-20)
- Feed frequency: Feed every 4 weeks during the growing season (Spring, Summer), avoid feeding during Autumn/Winter
- Dosage: Use at half the recommended strength to avoid tip burn
Light Requirements
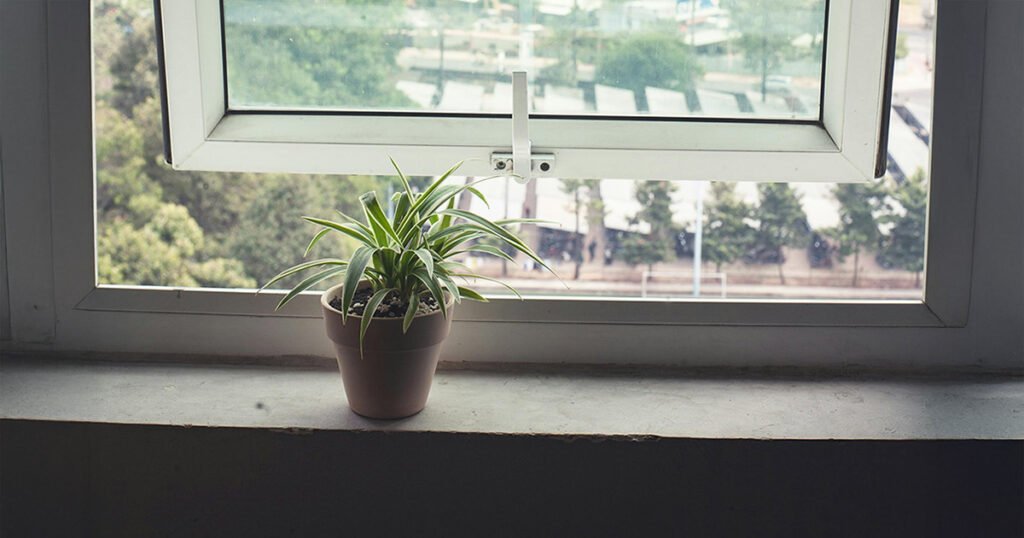
- Bright, indirect light: Best near east- or west-facing windows
- Partial shade tolerated: Though growth and variegation may decrease
- Avoid direct sunlight: Potential to scorch leaves
- Low-light rooms: Rotate plant occasionally to ensure even light exposure

Temperature & Humidity
- Temperature: Ideal range is 18–24 °C (65–75 °F); tolerates down to 13–16 °C (55–60 °F).
- Humidity: Prefers moderate indoor humidity; dry air leads to brown tips. Mist or use pebble trays if needed.
- Avoid drafts: Keep away from heating/cooling sources such as radiators or fans.
Routine Care
- Trim problem leaves: Yellowing, or browned leaf tips
- Remove dust: Helps to promote healthy photosynthesis
- Rotate the plant: To maintain symmetrical growth
- Remove ‘spiderettes’: To allow the plant to refocus its energy or to propagate (see next section)
Spider Plant Propagation
- Wait for ‘spiderettes’ to start to develop roots
- Cut mother plant’s stem and place into water for a week or directly into moist soil
- Maintain moisture levels until plant is established

Troubleshooting Common Issues
| Problem | Causes | Solutions |
| Brown leaf tips | Fluoride/ chlorine, salts, low humidity | Use rain/purified water, flush soil monthly, increase humidity |
| Yellowing lower leaves | Overwatering, poor drainage | Adjust watering frequency, repot if needed |
| No plantlets | Low light, young plant, nutrient deficits | Increase light and feed frequency |
| Pests (Webbing/dots or sticky residue) | Spider mites, aphids, mealybugs | Isolate, wash leaves, treat with insecticidal soap or neem oil |
| Root rot (Mushy stem base, wilting foliage) | Waterlogged soil | Repot, prune rotten roots, improve drainage |
If your identified issue has more than one solution, it’s advisable to change one variable at a time. This helps to identify the real cause and avoids shocking the plant, preventing any further issues.
